Choosing the Perfect Filter for your Aquarium: A Comprehensive Guide

Today, we're going to dive deep into the world of aquarium filters. From the humble sponge filter to the mighty canister filter, we'll explore the pros and cons of each type, helping you make an informed decision for your aquatic habitat.
Sponge Filters: The Under-appreciated Workhorses
Let's kick off our filter journey with sponge filters. These unassuming devices often go unnoticed, but they are fantastic for those on a budget. With the help of an air pump, sponge filters can effectively aerate and filter the water. They are not only inexpensive but also a safe choice for shrimp and baby fish. Many hobbyists use sponge filters for fish breeding or as a cost-effective way to maintain water quality. The primary investment is in a reliable air pump, which can even handle multiple sponge filters, making them ideal for larger setups.
While they are great, sponge filters are not without their drawbacks. They can be noisy due to the air pump and the bubbles breaking the water's surface. Some people may find the aesthetics of sponge filters less appealing, making them unsuitable for meticulously designed aquascapes.

Internal Filters: Compact and Versatile
Internal filters sit inside your aquarium and are excellent choices for smaller tanks. They are also budget-friendly and widely available. Some models come equipped with a spray bar, offering improved surface water movement and a delightful sound of water splashing. However, internal filters have limited space for filter media and may reduce the space available for aquascaping, affecting the types of plants and fish you can keep.

Hang on Back Filters: Space-Efficient and Accessible
Hang on back filters, available in two variations - cartridge and customizable media chamber models, are both space-efficient and accessible. They offer good water movement and are budget-friendly. The customizable media chamber versions allow you to tailor your filter media to your specific needs, reducing the need for regular purchases. However, they can be bulky, and cartridge models require ongoing investments in replacement cartridges.

Canister Filters: Powerful and Customizable
Canister filters, the heavyweights of aquarium filtration, are external filters with tremendous water turnover capabilities. They come with ample space for customizing your filter media and are relatively low maintenance. Canister filters tend to be quiet, making them suitable for bedroom aquariums. However, they come at a higher cost and occupy significant space in your cabinet or on the floor. A rare disadvantage is the potential for catastrophic water loss in case of hose failure.

Sumps: Hidden Powerhouses
Sumps are like chambered aquariums, often hidden beneath your setup. They are powerful and provide a clean, cable-free look for your main aquarium. However, sumps can be intimidating to set up and are relatively expensive. They also require careful consideration of your space and floor support due to their weight.

Which One is The Best Filter for Your Aquarium?
The question of which filter is best ultimately comes down to your specific needs and preferences. All these filters perform the same essential function: filtering water. Choose the one that aligns with your budget, tank size, and design preferences. They all work effectively when properly maintained.
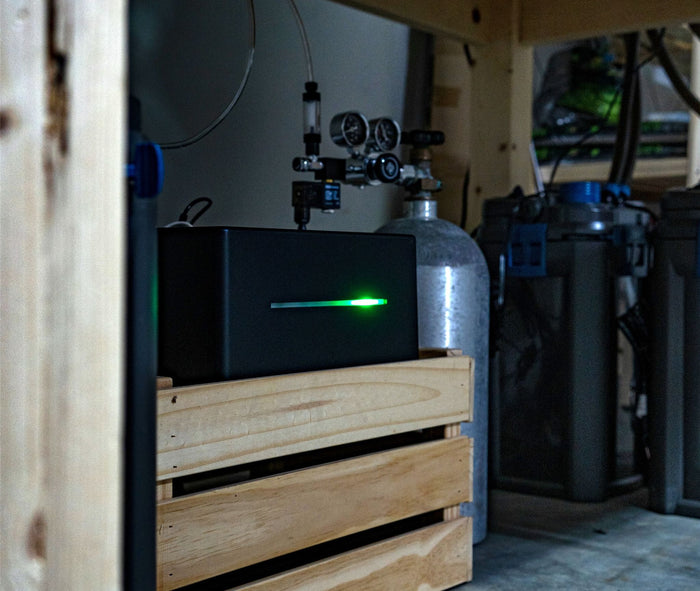
We hope this comprehensive guide to aquarium filters has been helpful. By the way, the best way to keep your aquarium clean is with a healthy parameters and inhabitants. Using KAI, the Felix Smart controller, you can completely automate your aquarium's environment, which helps immensely in the battle of filtration.